
Chromebook, as goes with the name, is a Google-developed device that runs on Chrome OS. Chrome OS is similar to Android OS but for computers and laptops. Similar to Android smartphones, you need to setup the Chromebook with your Google account to use the device. In the setup process, you need to connect the Chromebook to WiFi and activate the Play Store using your Google account.
How to Set Up Chromebook
1. Power on your Chromebook. Press the Lock button on the laptop keyboard. In the case of a Chromebook computer, connect all the wire connections and turn on the PC.
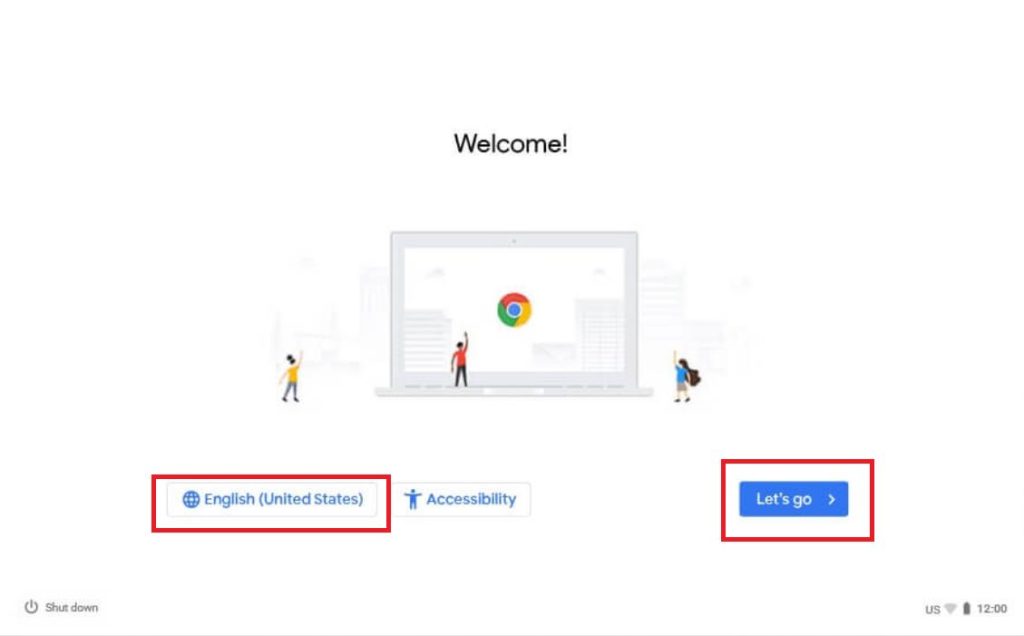
2. By default, English (United States) will be chosen as the device’s language. If you want to change the language, click the Language button and modify it.
3. Then, tap the Let’s go button.
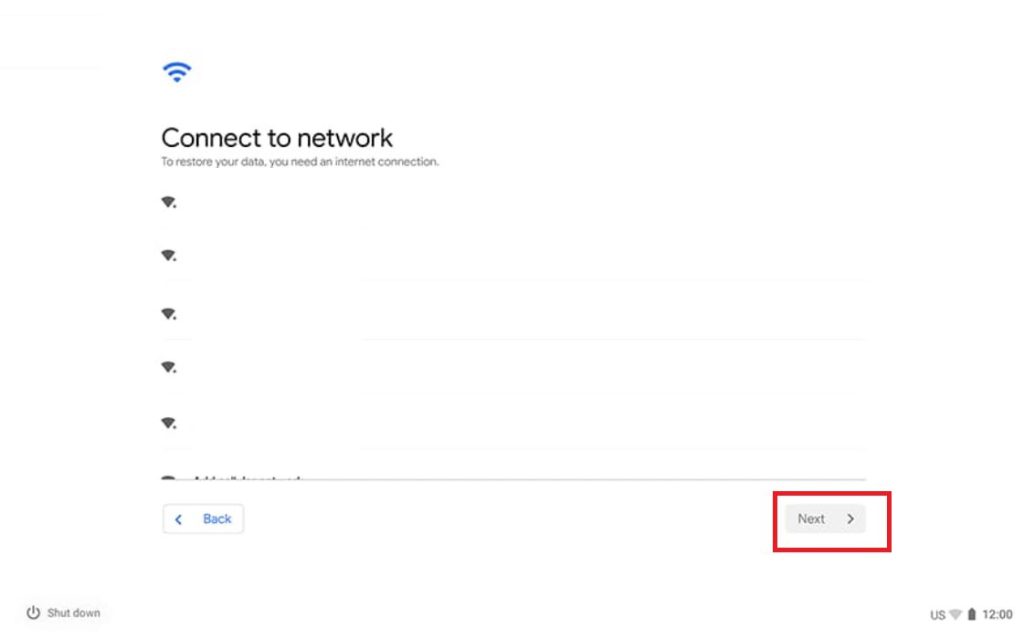
4. You will get the Connect to network screen. Choose your WiFi Network and click the Next button to enter the WiFi password on Chromebook if needed. You can’t skip the process as Chromebook needs internet for the sign-in process.
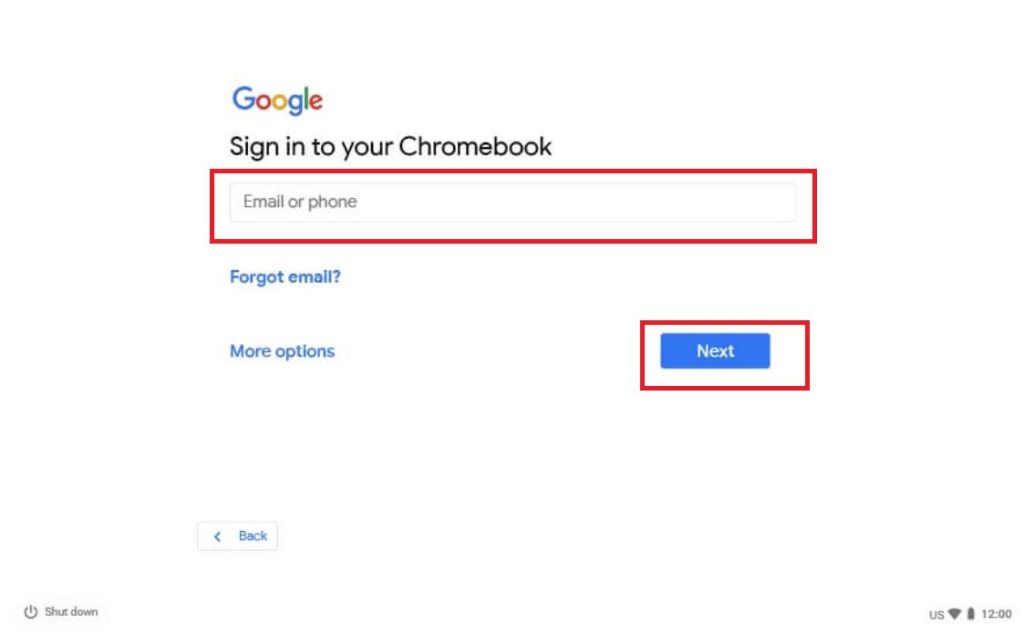
5. Now, enter your Google account in the field and click the Next button. If you don’t have a Google account, click More Options to create a new one. But we suggest you create a new account on your PC or smartphone and sign in with the same account on your Chromebook.
7. Then, enter the password to sign in to your Google account.
8. For confirmation, you need to verify the sign-in process on your PC or smartphone.
9. After the verification, click the Take a tour button to get to know the features and options available on Chromebook.
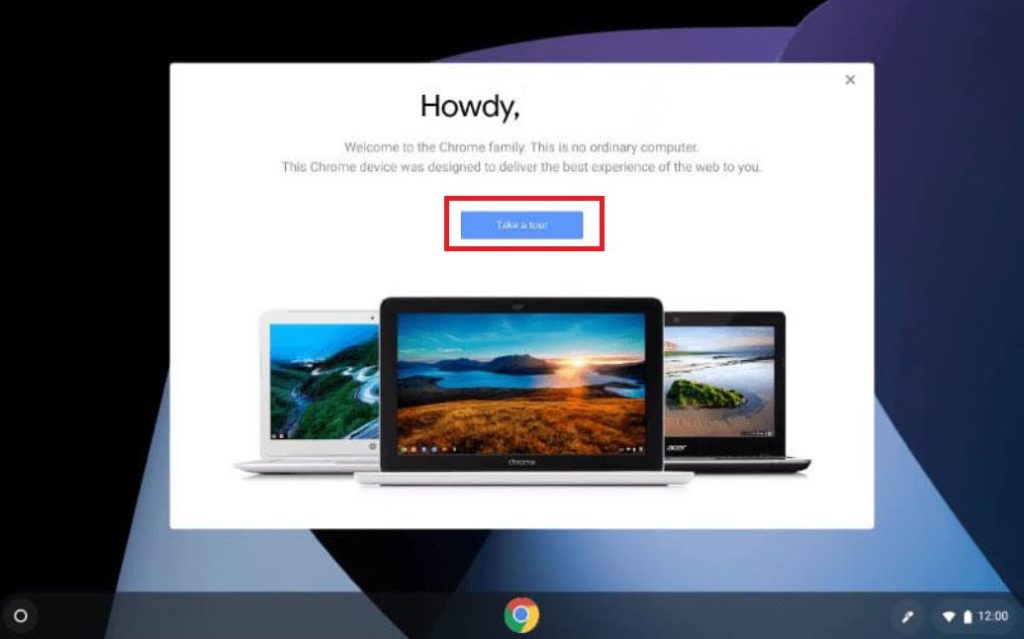
10. Now, you can start using the Chromebook.
If you want to set up the Chromebook for a child, you can use the same steps mentioned above and set parental controls on HP Chromebook.
How to Use Chromebook
1. After completing the setup process, you will get the Chromebook home screen.
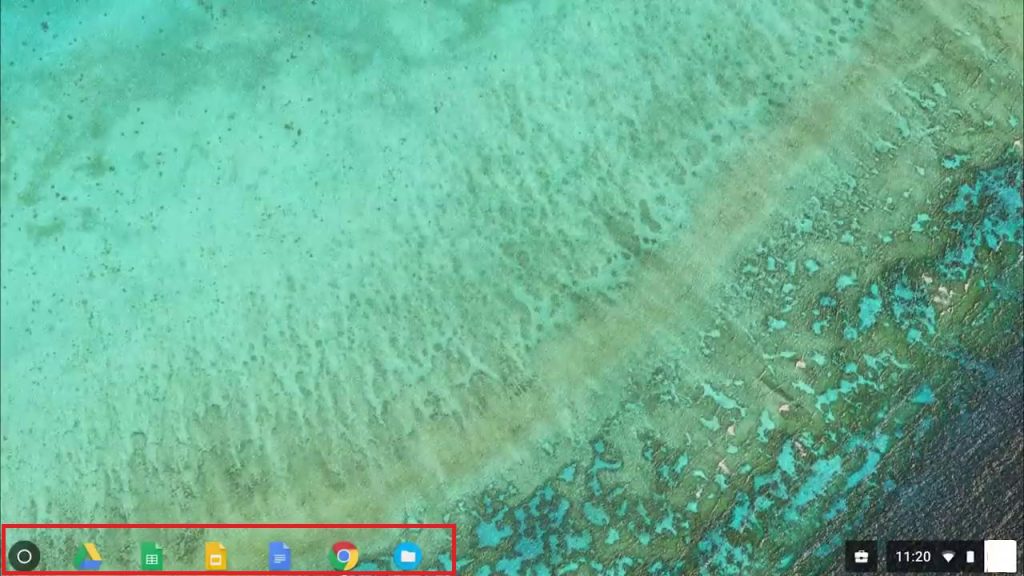
2. On the bottom, you have the Self menu, where you can use apps and services available on Chromebook.
3. The first button on the Self menu is the App Launcher. Clicking the App Launcher will open the Chrome browser-like window, where you can add and remove apps on Chromebook.
4. Click the All Apps button to access all the apps and games available on Chromebook.
5. To pin an app or a game, right-click on it and choose Pin to shelf.
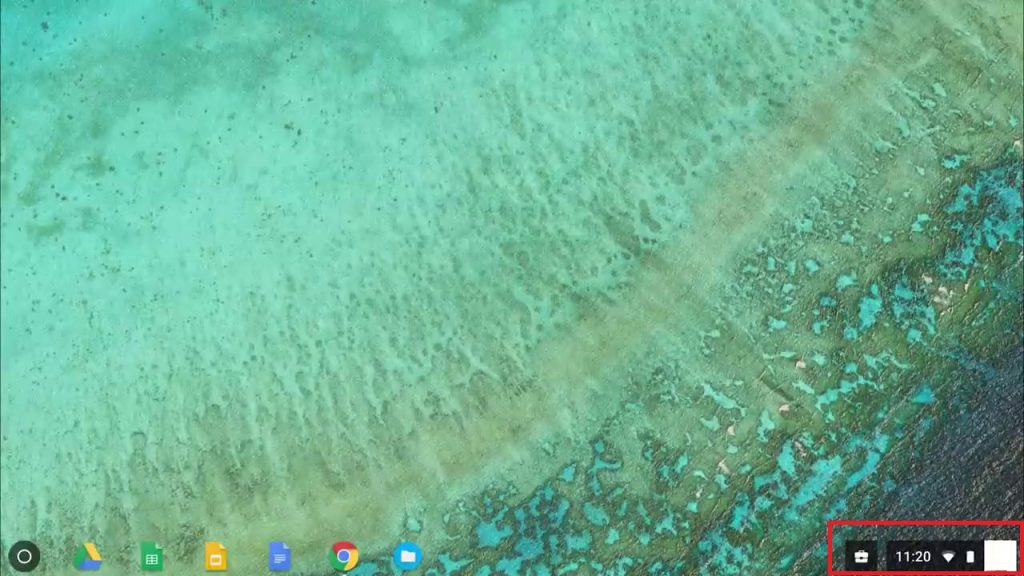
6. On the bottom right corner, you have the Time, WiFi, Battery, Account, and more, similar to Windows PCs.
7. Clicking the Account will display options like WiFi connection, Battery level, Bluetooth connection, Audio, Brightness, Help, Power Off, and the Settings menu.
8. In the Settings menu, you can change the Chromebook’s background, screen resolution, and more.
8. Click the Help icon (Question mark icon) to open the how-to guides for Chromebook.
9. Similar to Windows and Mac PCs, there are plenty of shortcuts available on Chromebook.
Frequently Asked Question
To enable the Guest Mode on your Chromebook, select the Browse as a Guest option from the Login screen instead of clicking your account.
Disclosure: If we like a product or service, we might refer them to our readers via an affiliate link, which means we may receive a referral commission from the sale if you buy the product that we recommended, read more about that in our affiliate disclosure.
Read More: World News | Entertainment News | Celeb News
Tech Follows